

Hardwood floors are beautiful and durable, but they can become damaged over time. Hardwood Floor Refinishing Bergen County NJ will restore them to their former glory and protect them for years to come.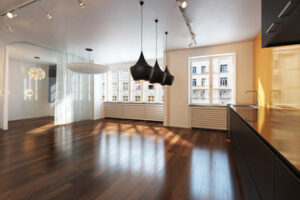
Refinishing is expensive, and homeowners should be prepared to rent a drum floor sander, remove carpeting, move furniture and sand debris, and purchase stain and topcoat.
While hardwood floors are very durable, water can still damage them. It can happen when a pipe bursts, a washing machine malfunctions, or a flood occurs in a storm. In the event of extreme water damage, it may be necessary to rip out the old wood flooring and replace it entirely. However, in more minor cases of water damage, a professional can usually save the floor by sanding it and applying the new finish.
One of the first things to do in case of water damage is to stop the source of the water, if possible. This will prevent more water from entering the wood and speed up drying. After that, removing any furniture or other items from the area is important. This will help the cellulose fibers of the wood dry faster. It is also wise to keep a supply of fans, blowers, and dehumidifiers close at hand, so that you can move them around the affected rooms as needed.
The next thing that needs to be done is to clean up any water that has accumulated on the surface of the flooring. You can do this with towels or an absorbent mop. This will not only prevent the formation of mold and mildew, but it will also stop more moisture from getting into the hardwood boards. Once the wood is completely dry, it will be ready for sanding and refinishing.
In the event that your wood floor is severely water damaged, you will need to take some time for the moisture content of the flooring boards to stabilize. In the meantime, you can open up windows and doors to help the moisture escape more quickly.
One of the biggest issues that can arise with water damaged hardwood is cupping or crowning. This occurs when the build-up of moisture in the boards causes them to expand. This can cause the sides of the boards to stick out from the middle. In extreme cases, the boards can peak up 4-5” off of the floor. Unless the floor is sanded before enough drying takes place, it will most likely have to be replaced.
Cupping
Cupping occurs when your hardwood floors develop a wavy, rippled appearance. It is caused by moisture and usually affects the middle of your flooring planks, rather than the edges. If caught early, sanding can flatten your floors and prevent any permanent damage.
Wood floors are susceptible to moisture issues for a variety of reasons. Leaking water from pipes, condensation, and spilled water can all cause your hardwood to warp. The best way to avoid these types of problems is by taking steps to keep the humidity in your home stable, and using a wood moisture meter to regularly test the moisture content of your floorboards.
Solid hardwood flooring is constantly adjusting to the humidity levels of its environment, expanding in high humidity and shrinking in low humidity. This is especially common during summer and winter, when humidity levels are typically highest. The most common causes of cupping are excessive moisture affecting your hardwood from below, either due to a wet crawl space or the slab over which the flooring is installed. This can be caused by a plumbing leak, flooding from severe rain, or excessive moisture from an unfinished basement that allows the flooring to absorb moisture from the ground.
Another common reason for cupping is a lack of field spacing created during installation for the expected expansion and contraction of the flooring. This can also occur if the flooring was not properly acclimatised to its new environment before installing. Finally, the most serious cause of cupping is extra and excessive moisture affecting the flooring from above. This can be caused by a flood, plumbing leak, or other water event that is not remediated as quickly as possible.
Once the source of the excess moisture has been identified and addressed, it is a good idea to wait a few months for your flooring to dry out completely. This is an ideal time to use a dehumidifier or let your floors air out, depending on the amount of moisture in the flooring. Once your floors are fully dried out, they should be able to flatten on their own and resist the appearance of cupping in the future.
Splintering
Splinters are every homeowner’s worst nightmare. Not only do they hurt, but splinters can also be extremely dangerous. Running across your wood floors in socks or bare feet, only to have a piece of frayed floorboard catch on your foot and pierce you is not something any of us want to experience.
Splintering occurs when the edges of a floorboard are exposed due to poor installation or damage from wear and tear. This is most common with nailed down floors but can happen to any type of flooring, especially if the splintering is from a nail or nails that have come loose over time. In some cases the splinters can be fixed with sanding and vanish, but in most situations the floorboard will need to be replaced.
Another common reason for splinters is winter weather. When homeowners turn on the heat and keep the doors and windows closed, it dries out the hardwood floors. This can cause the boards to shrink. Over time this can cause the edges of the board to become splintered and cause gaps between the boards.
Splintering can be avoided by hiring a professional flooring contractor who has the proper equipment and experience. In addition, homeowners should make sure the contractor is certified by a well-known organization. Getting multiple estimates from contractors is also a good idea. Homeowners should choose the contractor who is most experienced and who has the best reviews.
A quality flooring contractor will have experience with different types of wood flooring and will know the right technique for each situation. They will know the appropriate number of coats of polyurethane that is needed to protect your floors for years to come. They will also know how to deal with any water damage that may occur on your hardwood floors in the future.
It is important to take care of your hardwood floors and refinish them as necessary. Hardwood floors are a beautiful and classic addition to any home. Having properly maintained floors will last for generations to come and will add value to your property.
Discoloration
Hardwood floors are a beautiful addition to any home but they do require regular maintenance and periodic refinishing. This will keep them looking their best and extend their lifespan. However, wood is a porous, organic material and over time it can develop discoloration or stains that detract from the beauty of the floor. Here are some of the most common types of discoloration and ways to treat them:
Sap Stains – This is a brown or blue coloration that appears on the surface of the hardwood due to certain fungi growing inside or on its surface during the seasoning process. It is harmless and does not affect the integrity of kiln-dried lumber but it can cause cosmetic changes that are undesirable.
Sun Fading – Wood is photosensitive and will change colors based on its exposure to sunlight. Light-colored wood will darken from UV rays while most darker woods will lighten. The best way to combat this is to lay down rugs or move furniture around to avoid direct sunlight.
Chemical Stains – These are irregularly-shaped spots or discolorations on the surface of the hardwood that can appear when chemicals react with it. Some common household products that can cause chemical stains include nail polish remover, acetone, oil, mustard, chlorine, milk, and acetic acid.
Stacker Stain – These are blue or brown stains that can be caused by thin strips used to separate the wood boards during the seasoning process. It is not harmful to the health of kiln-dried lumber and it cannot be removed through sanding, but it can be hidden with a darker stain.
Picture Framing or Halo – This is a condition that causes the edges of the room to look a slightly different color than the rest of the floor. It is usually caused by sanding the edges with an abrasive grit that is too coarse or inadequately blending the edge and field sanding during the final sanding phase.
One of the most important things to remember when refinishing your hardwood floors is to follow all instructions on sanding, staining, and finishing. It is also a good idea to test the finish in an inconspicuous area before using it on your whole floor. This will ensure that it is compatible with your current finish and will not create patchy results.
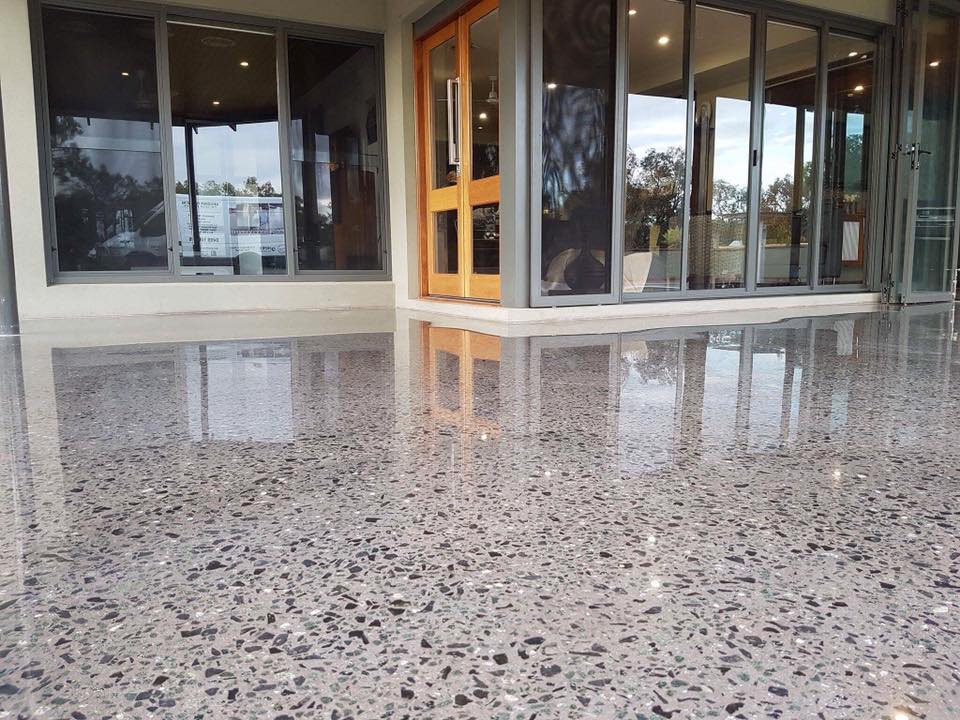
 Acid stains are acidic solutions that react with the lime content in concrete to create a marble-like effect. These stains are often more expensive than non-reactive stains but require special safety precautions and more experience to apply. Non-reactive stains, on the other hand, are based on pigments and acrylic polymers that penetrate deeper into the concrete to deposit color particles. For this reason, non-reactive stains should be avoided in exterior or interior use.